How to Master Pre-Clinical Prosthodontics & Conservative Dentistry Exercises
Struggling with phantom head labs, wax blocks, or Class II cavity prep? Discover practical tips, ergonomic habits, and step-by-step techniques to ace pre-clinical dental exercises in your early BDS years.
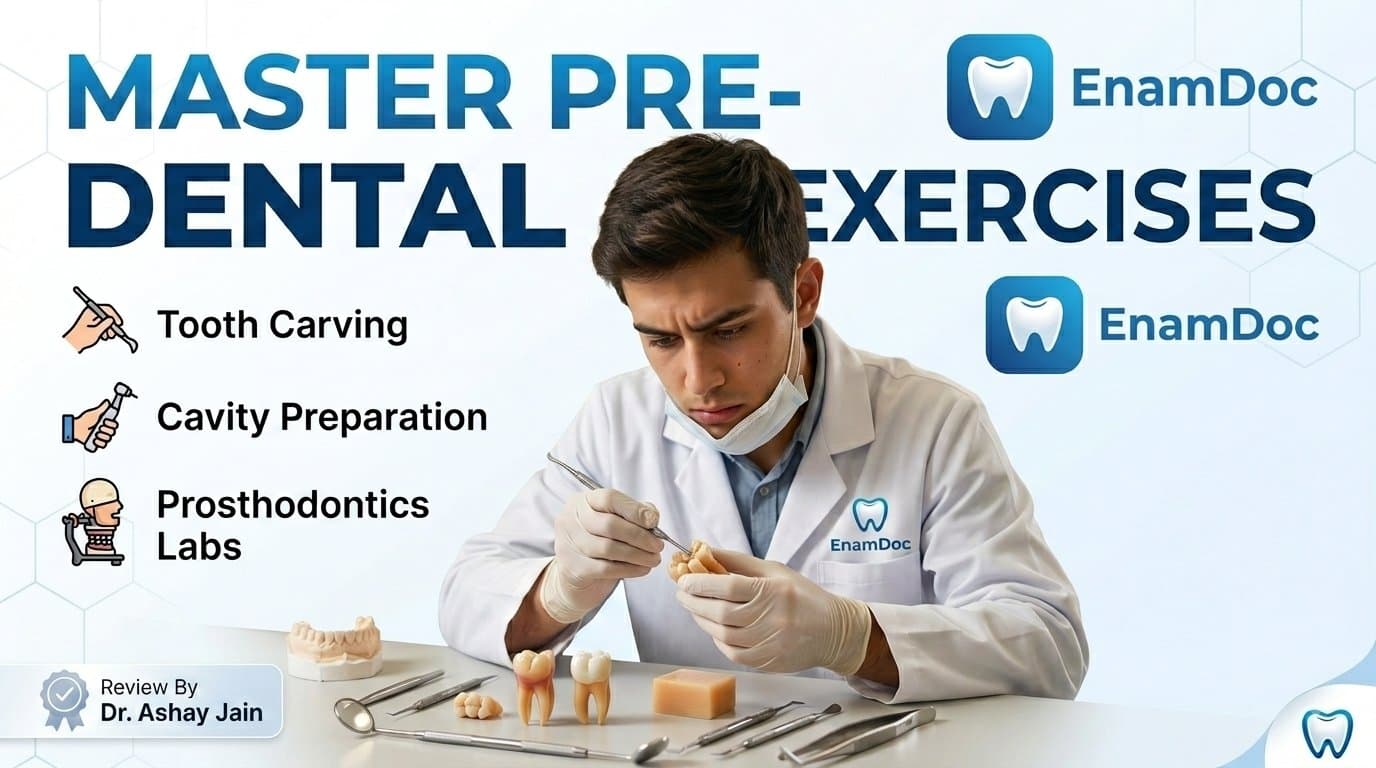
The transition into 1st and 2nd year BDS labs is one of the steepest learning curves in dental education. Moving from theoretical textbooks to wax blocks, plaster models, and phantom heads requires fine motor dexterity, spatial perception, and muscle memory that take intentional practice to build.
Mastering pre-clinical prosthodontics and conservative dentistry sets the foundation for your clinical years. Here is a practical roadmap to excel in tooth carving, cavity preparation, and phantom head lab exercises.
1. Mastering Tooth Carving in Dental Anatomy
Wax block carving is your first exercise in understanding 3D coronal anatomy and line angles. Precision here directly translates to natural restoration finishing later.
- Mark Reference Lines: Always divide your wax block into thirds (cervical, middle, incisal/occlusal) using a scale and carver before making a single cut.
- Carve in Stages: Start by establishing the basic geometrical outline (trapezoidal, triangular, or rhomboidal) from proximal and facial aspects before developing line angles and developmental grooves.
- Smooth with Silk or Cotton: After achieving the anatomical contours, use a soft cotton swab or a piece of silk cloth dipped lightly in soap water or talc to polish smooth surfaces without stripping away cusp tips.
2. Precision in Pre-Clinical Conservative Dentistry
Transitioning to plaster teeth, extracted natural teeth, or typhodont models for Class I and Class II cavity preparations demands strict adherence to biological and mechanical principles.
- Maintain Finger Rests (Fulcrum): Never cut freehand. Establish a stable, firm finger rest on an adjacent tooth or stable arch surface to prevent sudden bur slippage and maintain steady axial depth.
- Check Outline and Cavosurface Margins: Keep pulpal floors flat and smooth, maintain uniform depth (typically 1.5 mm to 2.0 mm), and ensure cavosurface angles stay sharp and distinct (90–100 degrees for amalgam).
- Matrix Band & Wedge Placement: For Class II restorations, ensure proper gingival contour and contact tightness by properly burnishing matrix bands against the adjacent tooth.
3. Mastering Pre-Clinical Prosthodontics Exercises
From custom tray fabrication to teeth arrangement (balanced occlusion) and border molding, prosthodontics requires disciplined adherence to anatomical landmarks.
- Landmark Identification: Always mark the vibrating line, fovea palatinae, retromolar pads, and incisive papilla on your diagnostic casts before starting base plates or rim fabrication.
- Balanced Occlusal Rims: Ensure correct anterior height (22 mm for maxillary, 18 mm for mandibular) and parallel planes against the camper's line and interpupillary line using a Fox plane.
- Step-by-Step Teeth Arrangement: Align maxillary central incisors first along the midline with proper labial tilt, following the curvature of the arch before articulating posterior teeth into stable cusp-fossa relationships.
4. Ergonomics and Indirect Vision on the Phantom Head
The phantom head simulation bridges the gap between desktop models and real human patients. Bad habits formed here will follow you to the clinical OPD.
- Clock Positions: Sit comfortably between the 9 o'clock and 12 o'clock positions relative to the simulator. Keep your feet flat on the floor and back upright.
- Rely on Mouth Mirrors: Avoid bending your neck to see maxillary preparations directly. Train your non-dominant hand to hold the mirror at correct angulations for indirect vision and light deflection.
Frequently asked
Frequently asked questions
How can BDS students improve indirect vision on phantom heads?
Practice simple pencil tracing or bur placement on upper jaw typhodont teeth while viewing strictly through the mouth mirror. Keep the mirror clean with a gentle stream of air to avoid water buildup.
What is the best way to prevent pulp exposure during pre-clinical cavity preparation?
Always use a periodontal probe or depth gauge to check pulpal floor depth continuously, use burs with known head dimensions for reference, and maintain a solid finger rest to avoid plunging.
- pre-clinical prosthodontics
- conservative dentistry
- tooth carving
- cavity preparation
- BDS 1st year
- BDS 2nd year
Keep reading