Clinical Dental Photography for Dentists: How to Take Stunning Case Photos That Impress Patients
Good clinical photography is one of the most underutilised skills in dentistry. Dr. Aditya Swami shares the exact setup, camera settings, and protocols that turn routine case photos into compelling before-and-after records that patients actually understand and value.
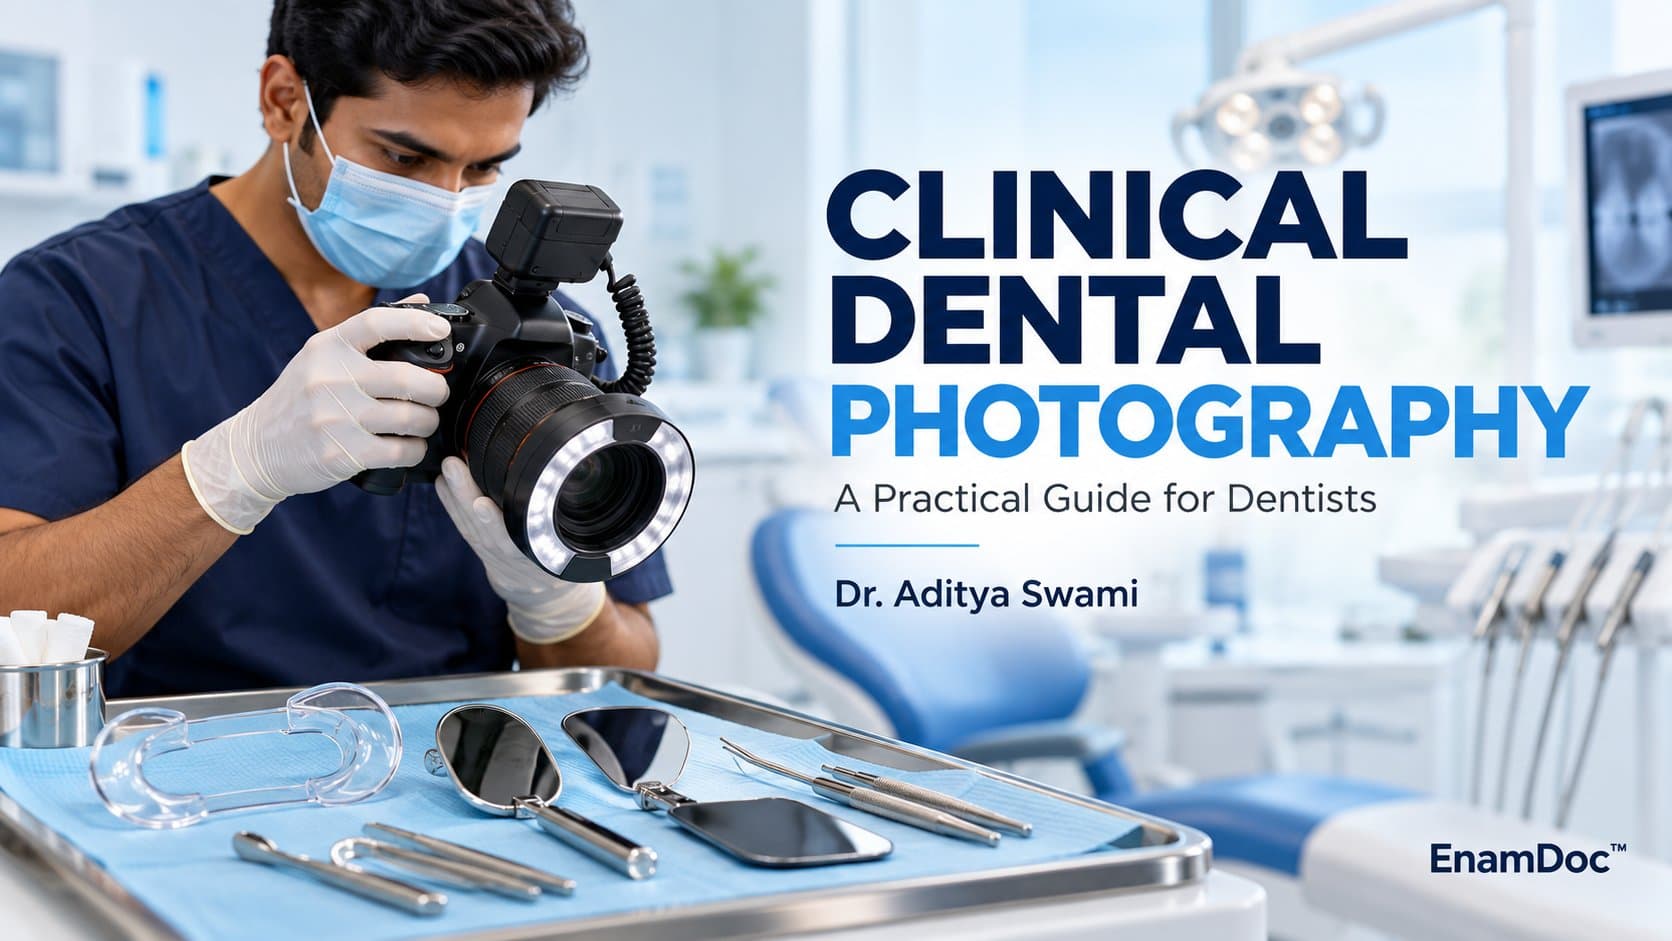
Walk into almost any successful dental clinic in a major city and you will notice one thing the owner invested in early: a consistent, well-lit photographic record of their clinical work. Before-and-after case photographs have become one of the most powerful tools a dentist has — for patient education, treatment planning, case documentation, and, increasingly, for building the kind of visible track record that attracts new patients who are already motivated to proceed with treatment.
The barrier to good clinical photography is not as high as most dentists assume. You do not need a professional camera operator on staff or a studio-grade setup. What you do need is the right equipment, a repeatable protocol, and an understanding of what makes a dental photograph actually useful versus merely decorative.
Why Clinical Photography Matters More Than Ever
Patients today arrive at consultations having already researched their condition, seen before-and-after photographs online, and formed expectations. They want to understand what their treatment outcome might look like before committing to a significant investment of time and money. High-quality case photographs help you show rather than tell — which is consistently more persuasive than the best verbal explanation.
From a clinical standpoint, systematic case photography creates a baseline record that protects you medically and legally, supports recall appointments, and enables meaningful comparison across treatment phases. For complex cases involving orthodontics, periodontics, prosthodontics, or cosmetic work, the photographic series is part of the case documentation, not a nice-to-have addition.
Equipment: What You Actually Need
The question dentists most commonly ask is whether a DSLR or mirrorless camera is necessary, or whether a smartphone is sufficient. The honest answer depends on how you intend to use the photographs.
Smartphone photography
Modern flagship smartphones (iPhone 14 and above, or equivalent Android flagships) are capable of producing clinically useful documentation photographs with proper lighting. The limitations are in precise control of depth of field, the fixed lens focal length (typically creating some distortion at close range), and the inability to use ring flash or point-of-care macro flash — which is where dedicated cameras pull ahead significantly for close-up work.
Dedicated camera setup
For serious clinical photography, the standard recommendation is a mirrorless or DSLR camera with a 100mm macro lens and a dedicated dental ring flash or twin flash system. This combination gives you reproducible magnification ratios, uniform lighting without harsh shadows, and consistent white balance — which matters enormously when comparing photographs taken weeks or months apart. The investment is significant (₹60,000–₹1,50,000 depending on brand and whether you buy new or used), but for clinicians doing high volumes of restorative, orthodontic, or aesthetic work, the return is proportional.
The Standard Dental Photography Series
Clinical dental photography follows established series for different case types. The basic series for most restorative and aesthetic cases includes seven to twelve standardised views:
Extraoral views
Full face frontal, full face with retracted smile, and profile (right lateral) form the extraoral baseline. For orthognathic or orthodontic cases, a natural head position profile with the patient looking at a distant point is standard.
Intraoral views
Frontal with retractors (teeth apart or in occlusion), right lateral, left lateral, maxillary occlusal, and mandibular occlusal. For cases involving specific teeth, additional close-up views with contrasters or mirror photography are added. The right and left lateral views should show the buccal corridor and posterior occlusion clearly.
Standardising these views from the first appointment ensures that comparison across time is meaningful. Patient position, retractor size, and camera-to-patient distance should be as consistent as possible for every series.
Lighting: The Single Biggest Variable
Lighting is where most clinical photographs fail. Overhead operatory lights create uneven illumination, harsh shadows in the posterior, and reflections off wet surfaces that obscure detail. A ring flash — mounted on the macro lens — provides consistent, shadow-minimising lighting that reveals soft tissue texture, restoration margins, and surface characteristics that disappear under ambient operatory lighting.
If you are beginning with smartphone photography, invest in a portable LED ring light designed for dental or medical use rather than relying on the phone's own flash. The difference is significant, and the cost is modest (₹3,000–₹8,000 for a quality portable dental ring light).
Colour Accuracy and White Balance
Dental shade matching depends on accurate colour reproduction. Set your camera to a fixed white balance (typically 5500K for ring flash) rather than auto white balance, which shifts between frames and makes shade comparison unreliable. If you are photographing for shade reference, include a VITA shade guide tab in the frame — it gives your ceramist or lab a reproducible reference and protects you if there is a dispute about the shade selection.
For smartphone photography, lock exposure and white balance before taking the shot, and avoid using digital zoom which degrades image quality. Shoot in the highest resolution your phone allows, and consider an app that gives you manual white balance control.
Patient Consent and Record Management
Before photographing any patient, obtain written consent that specifies how the photographs may be used — for clinical records only, for case discussions with other professionals, or for marketing and educational purposes. Consent forms should distinguish between these uses because your legal obligations differ. A patient who consents to clinical documentation has not automatically consented to their images appearing on your Instagram or website.
Maintain your clinical photographs in a secure, organised system linked to the patient record. Practice management platforms like EnamDoc are designed to keep patient records, treatment plans, and clinical documentation in one organised place — making it straightforward to maintain the kind of photo record that supports both clinical continuity and patient communication across appointments.
Using Case Photographs in Patient Communication
Showing relevant before-and-after photographs during consultations — with prior patients' consent — helps patients understand what is achievable and sets realistic expectations. This is one of the most effective consultation tools available, precisely because patients find visual evidence more persuasive than explanations alone.
For complex cases, consider walking the patient through a brief photographic presentation of a similar case treated in your clinic. The discussion about what the photographs show — the tooth condition before treatment, the procedure steps, the final outcome — is often more educational and more persuasive than any verbal description.
Building a Case Photography Habit
The biggest obstacle is not the equipment — it is building photography into the workflow so it happens consistently, not just for cases you anticipate will be interesting. Designate a clinical assistant to handle the camera for intraoral series. Create a simple pre-treatment protocol that includes photography for any case likely to take more than one appointment. Review your photographs at the end of each clinical session for the first month until the habit is established.
Dentists who photograph consistently find after six months that they have a library of cases that functions as both a clinical record and, with appropriate consent, a genuine asset for patient communication. The setup time per patient is typically under five minutes for a standard series once the protocol is embedded. The value that five minutes creates — in documentation, patient confidence, and treatment acceptance — makes it one of the better time investments in clinical practice.
Frequently asked
Frequently asked questions
Do I need a DSLR camera for clinical dental photography, or is a smartphone sufficient?
Modern flagship smartphones can produce clinically useful documentation photographs when paired with a portable ring light. For close-up macro work, shade matching, and cases where reproducibility across multiple sessions is critical — such as orthodontic treatment monitoring or complex restorations — a dedicated mirrorless or DSLR camera with a 100mm macro lens and dental ring flash produces significantly more consistent results. The smartphone is a reasonable starting point; a dedicated setup is the upgrade when you are photographing high volumes of aesthetic or restorative cases.
Do I need patient consent to use clinical photos for social media or my clinic website?
Yes. Clinical photography consent forms typically cover two separate uses: clinical records (always required) and marketing or educational use, such as appearing on your website, social media, or in case presentations. These are distinct consents — a patient who agrees to clinical documentation has not automatically agreed to their images being used publicly. Always obtain written consent that specifies the intended use before sharing any patient photograph, and keep signed consent forms in the patient record.
How long does a standard dental photography series take during a patient appointment?
A standard 7–12 view intraoral and extraoral series takes 4–6 minutes when performed by a trained dental assistant with an established protocol. The first few months while the team is building the habit may take slightly longer. Once photography is embedded in your pre-treatment workflow and the assistant is experienced, it adds minimal time to an appointment while providing documentation, patient communication, and case-building value that far exceeds the time invested.
- dental photography
- clinical photos
- case photography
- dental clinic
- before after dental
- smile transformation
Keep reading