Clinical Photography in Dentistry: A Beginner's Guide for BDS Students
Clinical photography is a core skill for dental students — essential for case documentation, academic presentations, and clinical audit. This guide covers camera settings, patient positioning, retractors, mirrors, and common mistakes to avoid.
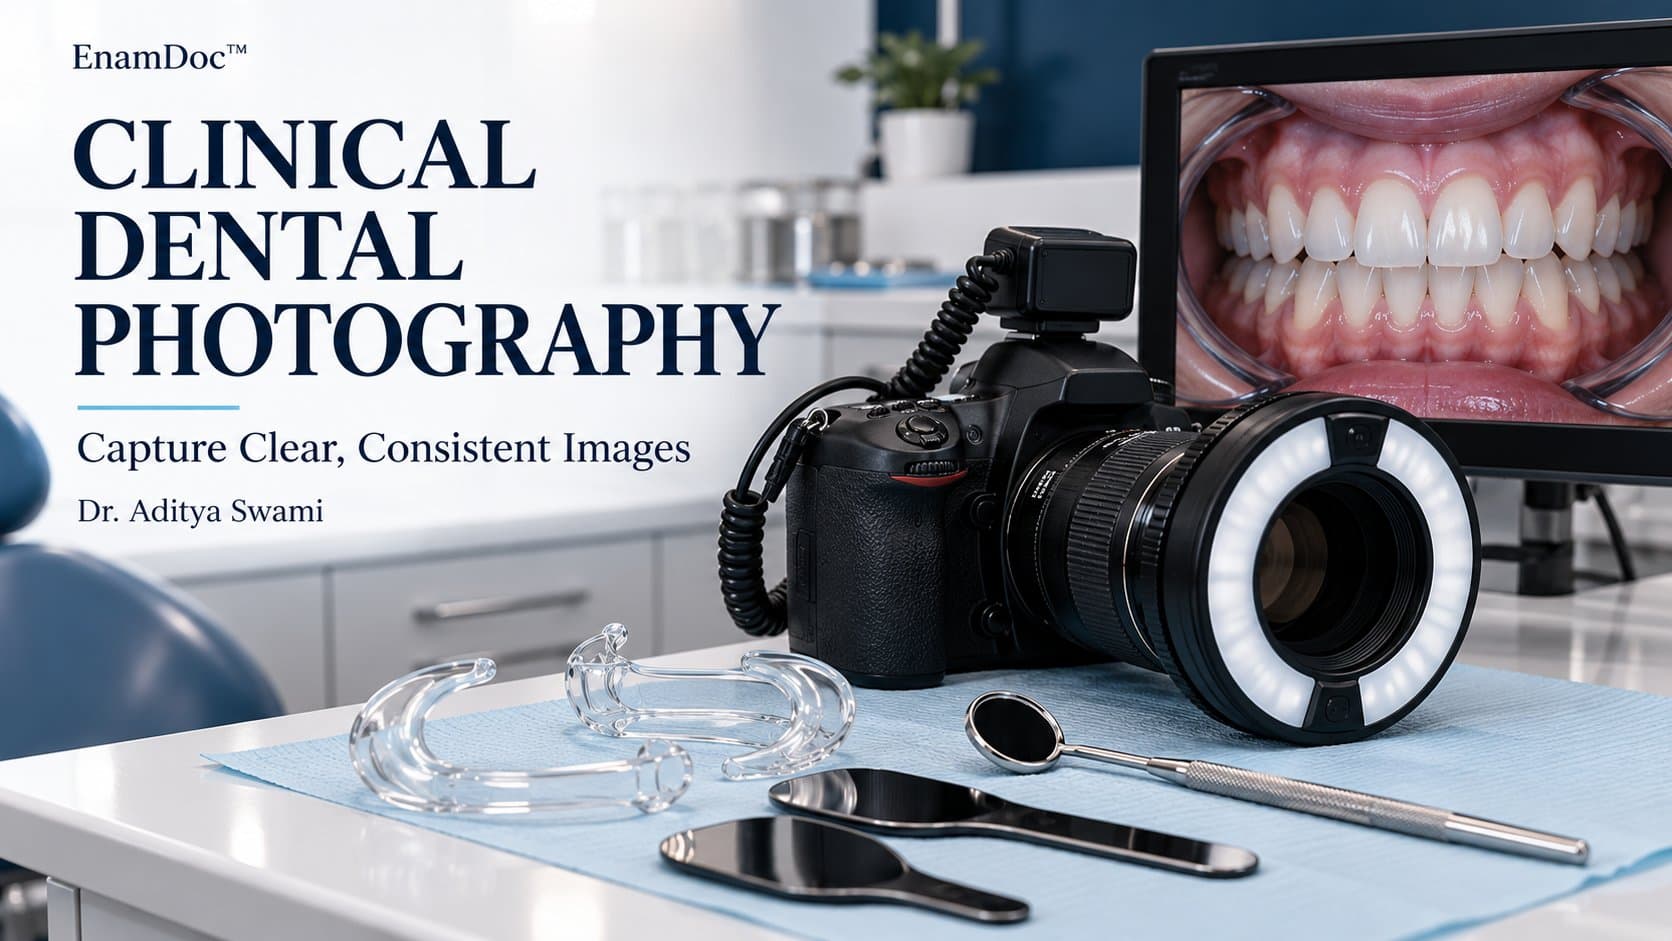
Clinical photography has shifted from a specialist interest to a core competency for all dental professionals. As a BDS student, you will need it for case documentation, academic presentations, clinical portfolios, and increasingly for medico-legal records. The good news: you do not need expensive equipment to get started. You do, however, need to understand the principles — poor photographs of excellent clinical work are unfortunately common, and they undermine the case record.
This guide walks through the essentials: equipment, camera settings, the standard dental photograph series, patient positioning, accessories, and the most common beginner mistakes.
Equipment: What You Actually Need
Camera
A DSLR or mirrorless camera with a macro lens is the gold standard for clinical dental photography. The standard lens is a 100mm (or 105mm) macro with a ring flash or twin flash. However, for students starting out, a good smartphone camera — particularly recent iPhone or Samsung flagships — can produce clinically acceptable images when used correctly. The limitation of smartphones is mainly for close-up intraoral shots, where a macro lens or clip-on macro attachment helps significantly.
Flash and Lighting
The most important lighting consideration in dental photography is eliminating the effect of variable ambient light and getting even, consistent illumination. A ring flash attaches to the lens and provides shadow-free frontal lighting — it is widely used and produces flat but reliable results. A twin flash (two small flashes on adjustable arms) gives more three-dimensional lighting and is preferred for aesthetic cases where surface texture and depth matter. Avoid relying on natural light or overhead room lights — they produce inconsistent, unrepeatable results.
Accessories
You will need three items regardless of your camera choice:
- Lip retractors — rigid plastic retractors that pull the lips and cheeks away from the teeth; essential for the frontal and lateral intraoral views
- Intraoral mirrors — used for occlusal views (upper and lower arches) and for photographing the palatal and lingual surfaces of teeth
- Black contrasters (occlusal sticks) — used as a dark background behind the mirror when taking arch photographs; prevents distracting reflections from the throat
The Standard Dental Photograph Series
Most clinical cases require a standard set of images. The full series for a comprehensive case typically includes:
Extra-Oral Photographs (5 Views)
- Full face, relaxed lip posture — teeth slightly apart, lips in repose
- Full face, maximum smile
- Right lateral profile
- Left lateral profile (depending on the case)
- Three-quarter (45 degree) view — particularly important in orthodontic and orthognathic cases
Intra-Oral Photographs (5–7 Views)
- Frontal view — teeth in occlusion, lips retracted
- Right buccal view — teeth in occlusion, mirror or retractor to show posterior teeth
- Left buccal view
- Upper occlusal view — using intraoral mirror angled at approximately 45 degrees
- Lower occlusal view
For restorative and aesthetic cases, additional photographs of individual teeth at high magnification are also taken before, during, and after treatment.
Camera Settings for Dental Photography
If you are using a DSLR, use manual mode. The recommended starting settings for most dental photography with a ring flash are:
- ISO: 100–200 (keep it low for a clean image)
- Aperture: f/22–f/32 (high f-number for maximum depth of field so all the teeth are sharp)
- Shutter speed: 1/125–1/200s (sync speed for flash)
- White balance: Flash setting, or set a custom white balance using a grey card
The high aperture is counterintuitive at first (it lets in less light) but the flash compensates, and the resulting depth of field ensures the entire dental arch stays in focus.
Patient Positioning
For extra-oral photographs, the patient sits or stands with the Frankfort plane (the line from the outer canthus of the eye to the tragus of the ear) horizontal. This is the anatomical reference. The camera should be at eye level, not tilted up or down. For intra-oral photographs, the patient's head position changes depending on which arch is being photographed — typically, the lower arch requires the patient to tilt their head back.
Common Beginner Mistakes
1. Not using a contraster: Occlusal mirror shots without a dark contraster behind produce washed-out images where the throat and tongue are visible. The contraster keeps the focus on the teeth.
2. Inconsistent magnification: Photographs taken at different zoom levels or camera distances are incomparable over time. Set a fixed magnification ratio (1:1, 1:2, or 2:1 for close-ups) using the magnification scale on your macro lens or app, and stick to it.
3. Fogged mirrors: Intraoral mirrors fog immediately in the oral cavity. Warm them briefly with a hairdryer or hot water and dry them before use, or use an anti-fog solution. Ask a colleague to hold the mirror while you shoot — it is very difficult to hold the mirror, retract, and photograph simultaneously.
4. Poor retraction: Retractors must evert the lips and cheeks fully, showing the gingiva. Inadequate retraction leaves the corner of the mouth in the frame and cuts off the posterior teeth.
5. Blurring from patient movement: Ask the patient to hold very still and take multiple shots. One good image from a burst of three is more reliable than a single shot.
Consent and Record-Keeping
Always obtain written consent before photographing a patient, even in a dental school setting. Photographs are part of the clinical record, stored securely, and cannot be used for teaching, presentations, or social media without explicit consent that specifies those uses. Your institution will have a consent form — use it for every case.
Practical Tip for BDS Students
The fastest way to improve is to photograph every case you document, compare your images to published clinical case photographs, and identify specifically what looks different and why. Take two minutes after each clinical session to review what you captured — most students learn far more from critiquing their own images than from reading about photography technique.
Frequently asked
Frequently asked questions
Can I use my smartphone for clinical dental photography?
Yes, with limitations. Modern smartphones — particularly iPhone 14/15 Pro and Samsung S23/S24 series — can produce clinically acceptable images for basic case documentation. For extra-oral and full-arch intraoral shots, they work well. For close-up single-tooth photography, a clip-on macro lens adapter helps considerably. The main drawback is controlling lighting: the built-in flash is rarely adequate for intraoral photography, and variable room lighting creates inconsistency. A portable ring light or LED panel significantly improves smartphone dental photography.
How do I prevent the intraoral mirror from fogging during photography?
Several methods work: (1) warm the mirror in hot water or briefly with a hairdryer immediately before use — the warmth delays fogging by a few seconds, which is enough for a quick shot; (2) apply anti-fog spray or gel to the mirror surface and buff it dry; (3) ask the patient to breathe through their nose and temporarily hold their breath at the moment of capture; (4) have a colleague hold retractors while you hold the mirror and camera, or use a suction to clear moisture from the field. Most experienced clinicians combine warming with asking the patient to hold their breath.
Do I need patient consent before taking clinical photographs?
Yes, always. Clinical photographs are part of the patient's health record and are subject to the same privacy obligations as any other medical information. You must obtain written informed consent before photographing a patient, and the consent form should specify how the images will be used — for clinical records only, or also for teaching, publications, or presentations. If you later want to use the photographs for a poster, conference, or social media, you need additional explicit consent for those specific purposes. Never assume general clinical consent covers academic or public use.
- dental photography
- clinical photography
- BDS students
- intraoral photography
Keep reading